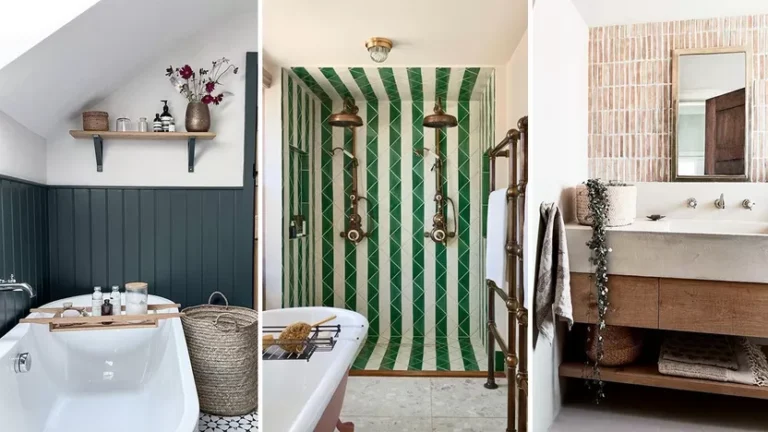
You did the work, painted your home (or had it painted for you), and the results are fantastic. Congratulations!
Now the question is: How do you keep it looking that way? Behold, our Bible on how to maintain a paint job, so that it remains looking fabulous for years to come.
Which paint lasts the longest?
The key to a long-lasting paint job starts with the paint job itself, including proper prepping and priming, according to Hunter MacFarlane, an expert for Lowe’s.
Beyond that, he says choosing the right paint finish is the key to preventing potential problems, such as damage from sunlight, water, moisture, and temperature change. MacFarlane offers the following tips:
- Sunlight and moisture can cause chalking and tint loss. Keep in mind that latex paint tends to resist the effects of direct sunlight better than oil-based or alkyd paints.
- With changing moisture levels, wood tends to expand and contract, resulting in cracked and flaky paint. Permeable or breathable latex paint allows water to vaporize and escape before damage can occur.
- Changes in temperature can also put your paint under stress. Use paints with superior adhesion and flexibility. Top-quality acrylic latex paint is an excellent choice for areas with frequent freeze/thaw cycles.
Exterior paint, in particular, should be chosen with care—and if you’re tempted to cheap out and go for low-priced paint, you may pay for it down the line.
“The best exterior paints hold their color twice as long and resist peeling and blistering,” says Rick Watson, director of product information at Sherwin-Williams.
What “best” means depends on the environment to which your paint is exposed.
“You need to match up the quality of paint to the environment in which it will be used,” Watson continues. “Before choosing paint products, there are many questions that need to be asked. By understanding the benefits of each paint, you can focus on proper product selection for specific areas of the home.”
How to clean painted walls
You can keep interior walls in good shape by washing them occasionally, says Watson.
“The trick is to be gentle,” he adds. “Too much friction or water can ruin the paint finish. Any hard scrubbing of standard interior or exterior coatings is likely to damage the film.”
He offers the following tips:
- Use a soft cloth or sponge with mild, soapy water, and wipe in a circular motion, putting light pressure on the wall. Be sure to wring out the cloth before you wipe down the wall.
- When you’re done, rinse with a clean, damp cloth, to remove any soap residue.
- For tougher spots, use a degreasing dish soap mixed with water.
- To make sure the cleaner won’t damage the paint, it’s a good idea to test it first in an inconspicuous spot—for example, behind a picture frame or furniture.
- To ensure maximum washability and durability, wait at least two weeks after applying paint before washing it.
For exterior paint, MacFarlane says you can help prevent dirt, mildew, and mold from wearing on it by keeping the siding of your home clean. He likes Mold Armor E-Z House Wash, which quickly removes dirt and stains caused by mold and mildew from the exterior of your house—all without scrubbing.
How to do paint touch-ups
Even if you do all the proper prepping and painting, eventually you’re likely to find your paint chipping or showing signs of wear. So, can you just grab the color of paint and cover as needed? Probably not. Oftentimes, sunlight, changes in temperature, and other factors have changed the color of the paint on the walls, and it won’t be an exact match.
So what to do?
If you have the original paint color, experts suggest that you dilute it with a bit of water, mineral spirits, or paint thinner, by 5% to 10%. If you don’t have the original paint, your paint store may be able to help.
“If your paint chips or wears, and you need to refresh, don’t fret about color matching,” MacFarlane says. “If you bring a small piece of the existing paint with you to many hardware stores, they may have a paint color-matching service to create a matching tone.”
He says if you do have the old paint can from your project, even if it’s dried up, you should bring it to the store, since this may help.
Once you have the right color, you need to take a few more steps before putting brush to wall:
- Wipe down the walls (see technique above) and allow them to fully dry. You may find that the area you were concerned about looks just fine now. If not, proceed to the next step.
- Repair any scratches, dents, or other imperfections in the wall. This may require spackling and sanding, depending on how severe the issue is.
- Apply primer to the area you plan to touch up.
- Paint. Try to use the same type of brush or roller originally used to paint the walls. Also, try to paint at about the same temperature at which the paint was originally applied.
- Paint slightly beyond the area you’re touching up, to blend it in with the surrounding area.
- Let the paint dry. You won’t know if you have an exact match until the paint is fully dry, so give it a day or so, and make sure to evaluate in different kinds of light.
- If the area still stands out and bothers you, you may want to consider repainting the entire wall.
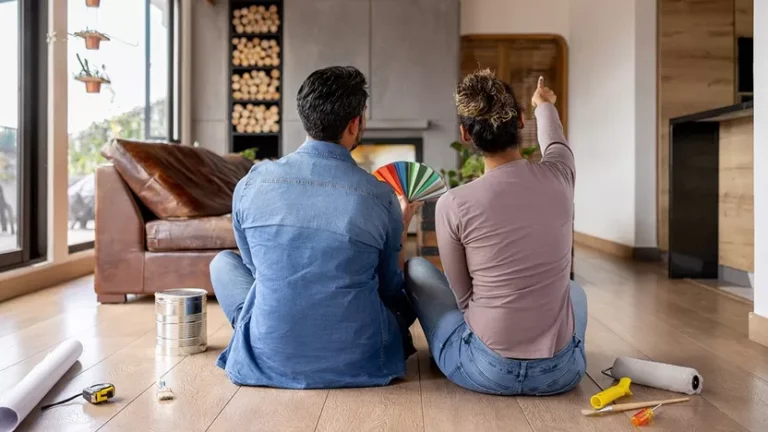
Painting your home can be a big investment, so you want to do everything you can to protect the investment, and keep it looking its best.
Of course, repainting is always an option, but with the right painting techniques, a little maintenance, and a touch-up here and there, you can keep your original paint job looking fresh and fabulous for years.
Article originally appeared on Realtor.com.